

A Beginner's Guide to Understanding React Native Stack Navigation.


Introduction
Building mobile applications is typically a fairly time-consuming process that entails developing for both iOS and Android. Android uses Java/Kotlin as its native language, and iOS uses Objective C/Swift.
You must learn two languages, each of which has a challenging learning curve, in order to create a cross-platform mobile application. Thanks to Facebook's release of React Native, you can now make cross-platform mobile applications using the JavaScript library known as React. With React Native, a single piece of code can be compiled for both iOS and Android.
Today's lesson will teach you how to set up a React Native project and employ a React Native library to efficiently switch between your mobile screens.
What is React Native and React Native Stack Navigation?
React Native is a JavaScript framework for creating natively rendered mobile applications for iOS and Android. React Native is Facebook's JavaScript library for building user interfaces, but instead of targeting browsers, it targets mobile platforms.
Thus, web developers can now create native-looking mobile applications using JavaScript, which they are already familiar with. Furthermore, since most of the code you write can be shared between platforms, React Native makes it easy to simultaneously develop for Android and iOS.
Stack Navigator enables your app to transition between screens by stacking each new screen on top of the previous one. The stack navigator defaults to iOS and Android looks and feels: new screens slide in from the right on iOS, default animations on Android. You can, however, customize the animation to suit your needs.
Prerequisites
The first thing you need to do is install a text editor on your computer so that you can follow this tutorial. In this case, I will use Visual Studio Code. It's up to you which text editor you use. If you don't already have node installed on your machine, you should install node. Install node here.
Project Setup
To get started with this tutorial, create a folder named NavigationApp. Open the folder inside the text editor. VS Code in this case.

Click the Terminal in the View option on VS Code navigation.
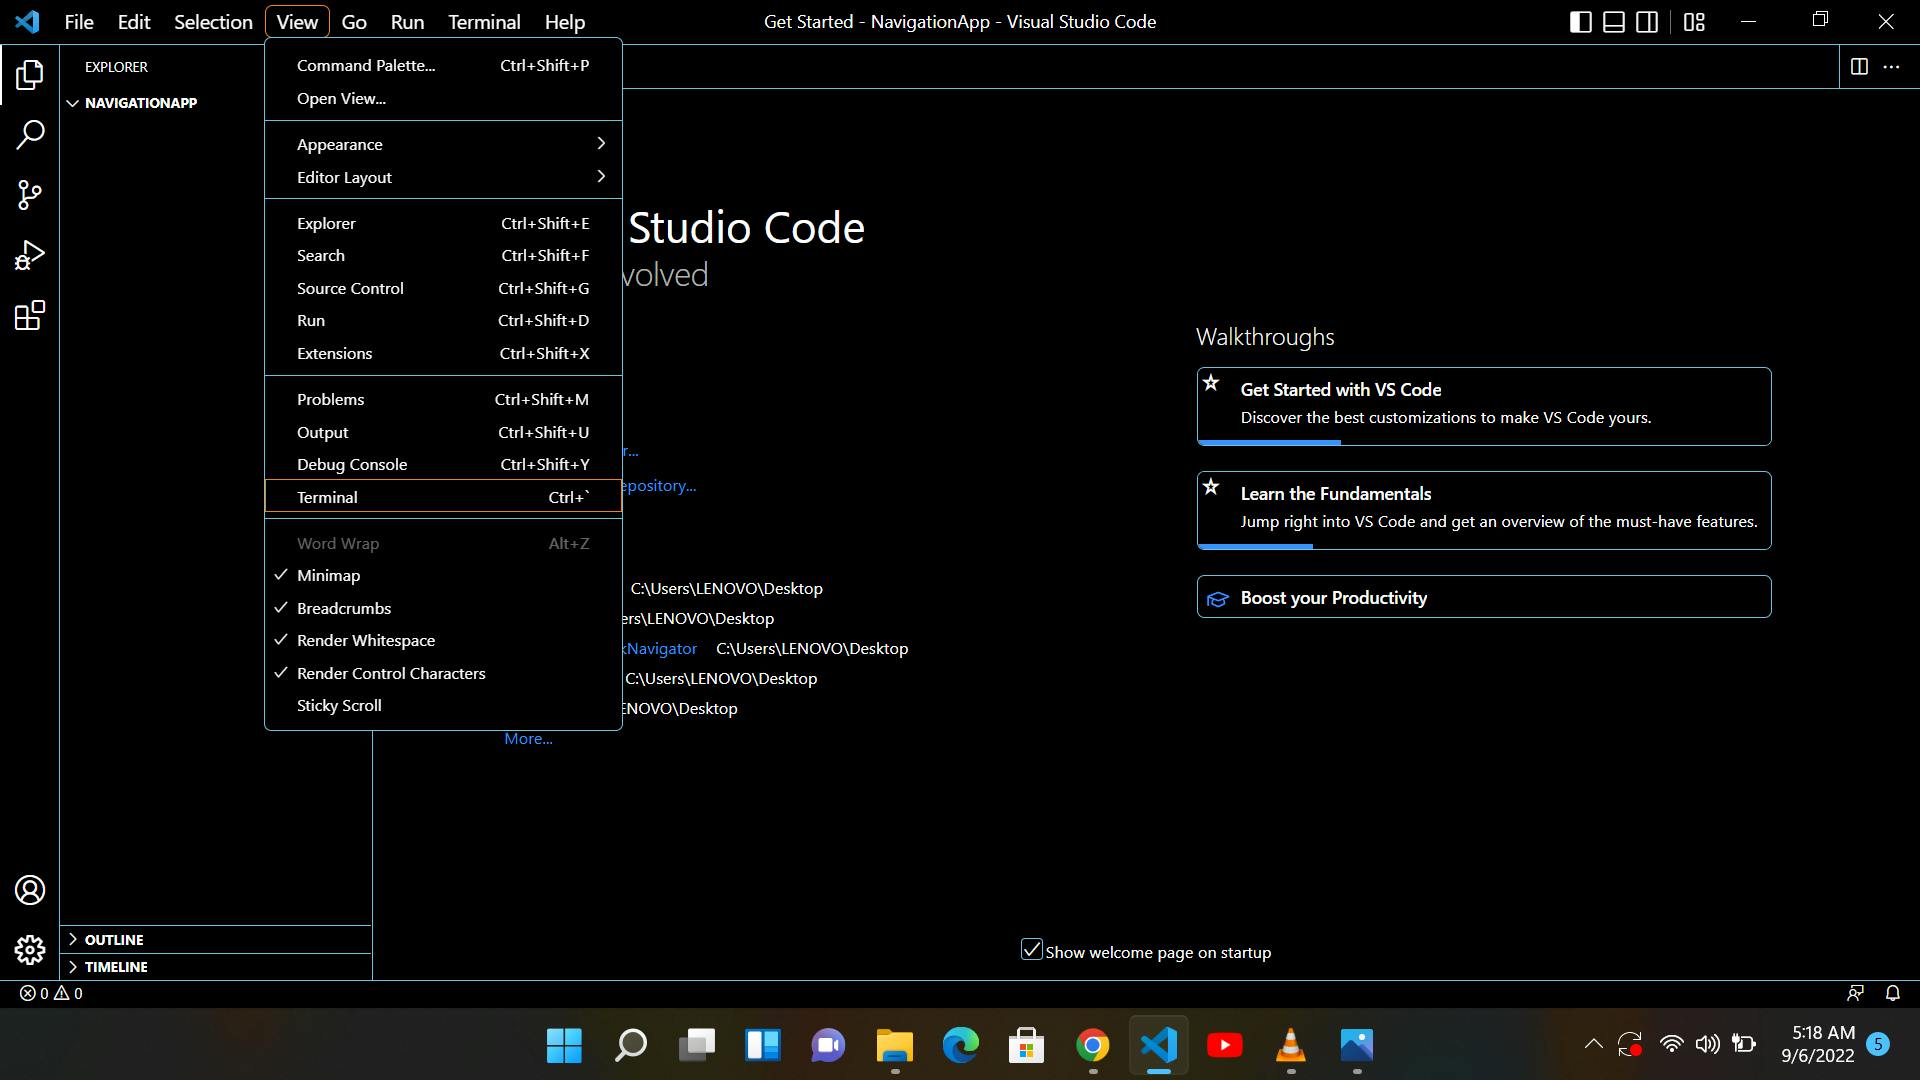
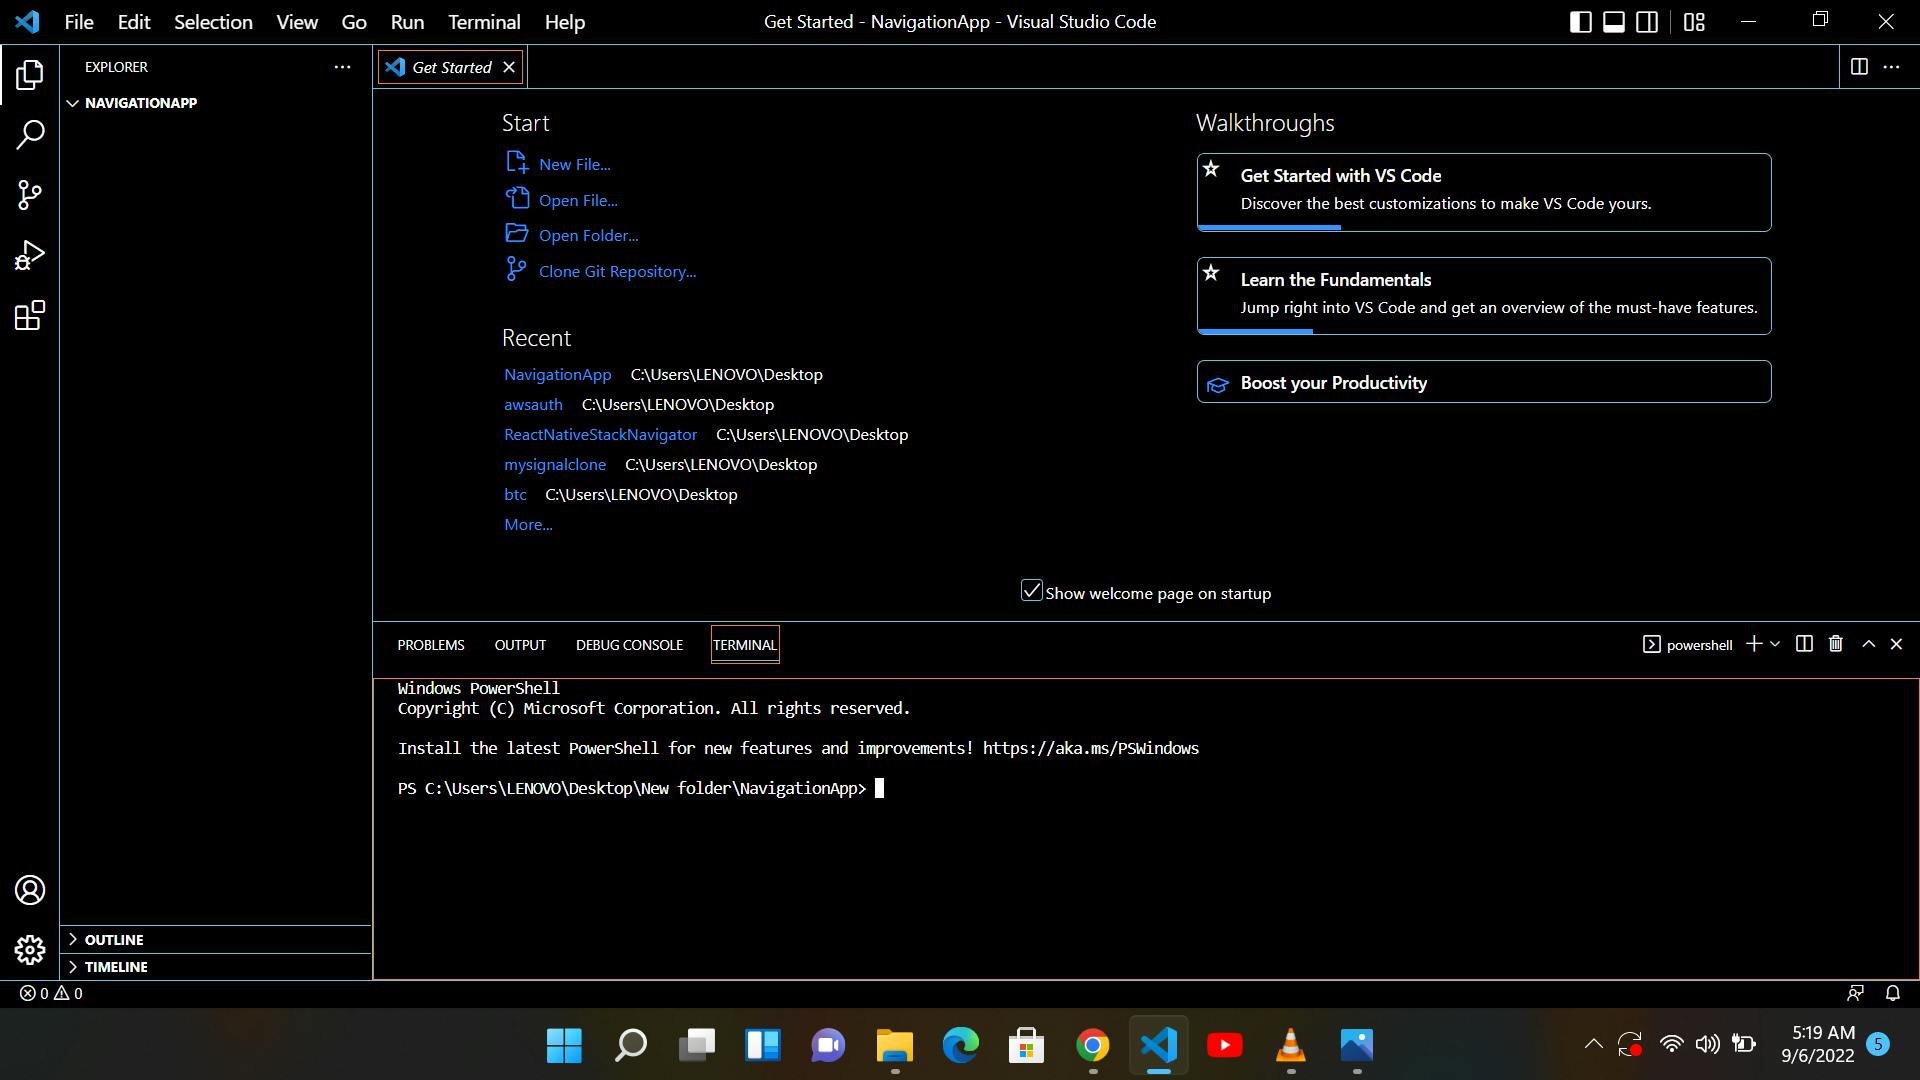
Your VS code should have the terminal open like this.
We need to now set up the react native environment in our workspace, which is the NavigationApp folder. We will be using Expo for this project. Expo is an open source platform for making universal native apps for Android, iOS, and the web with JavaScript and React.
For us to set up react expo, we will run this code.
yarn global add expo-cli
expo init ./
After running the code in our terminal, Our Vs Code should look like this.
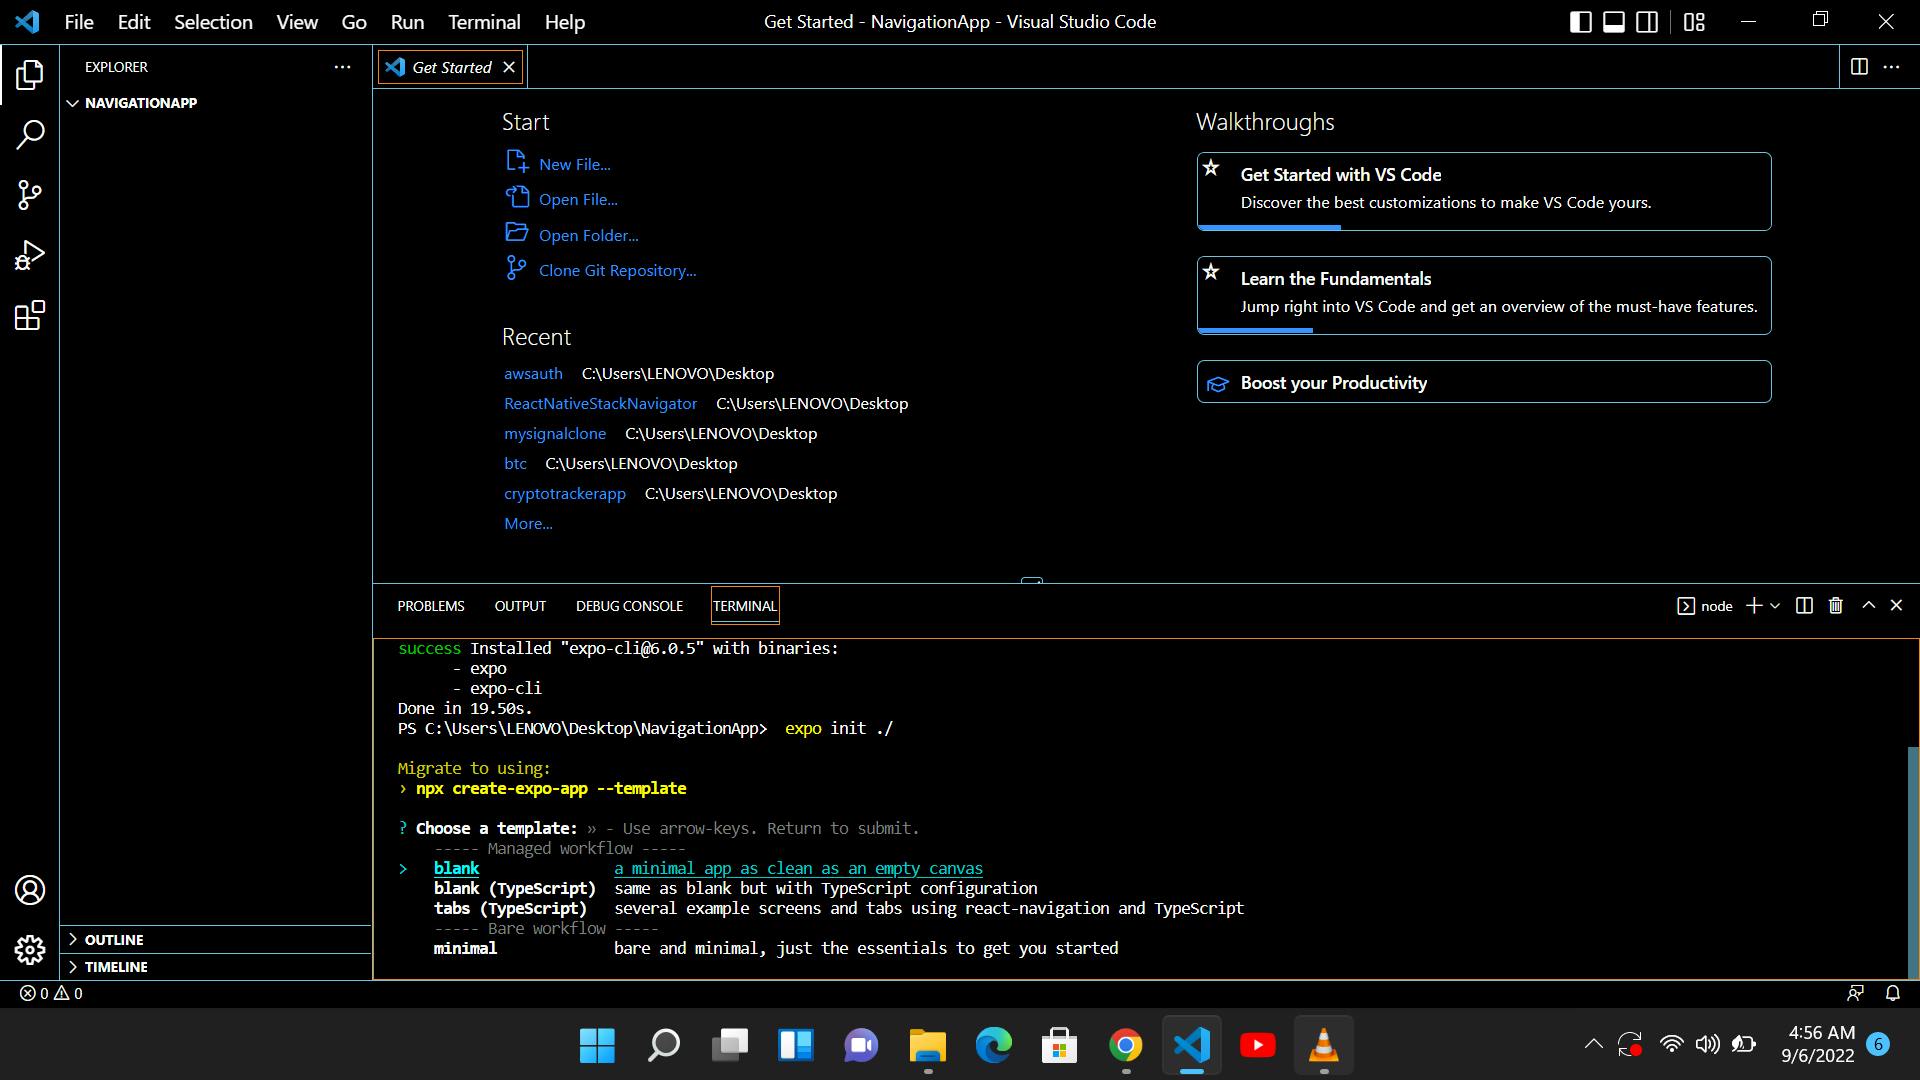
By pressing Enter on the keyboard, we will now select the blank minimal workflow.
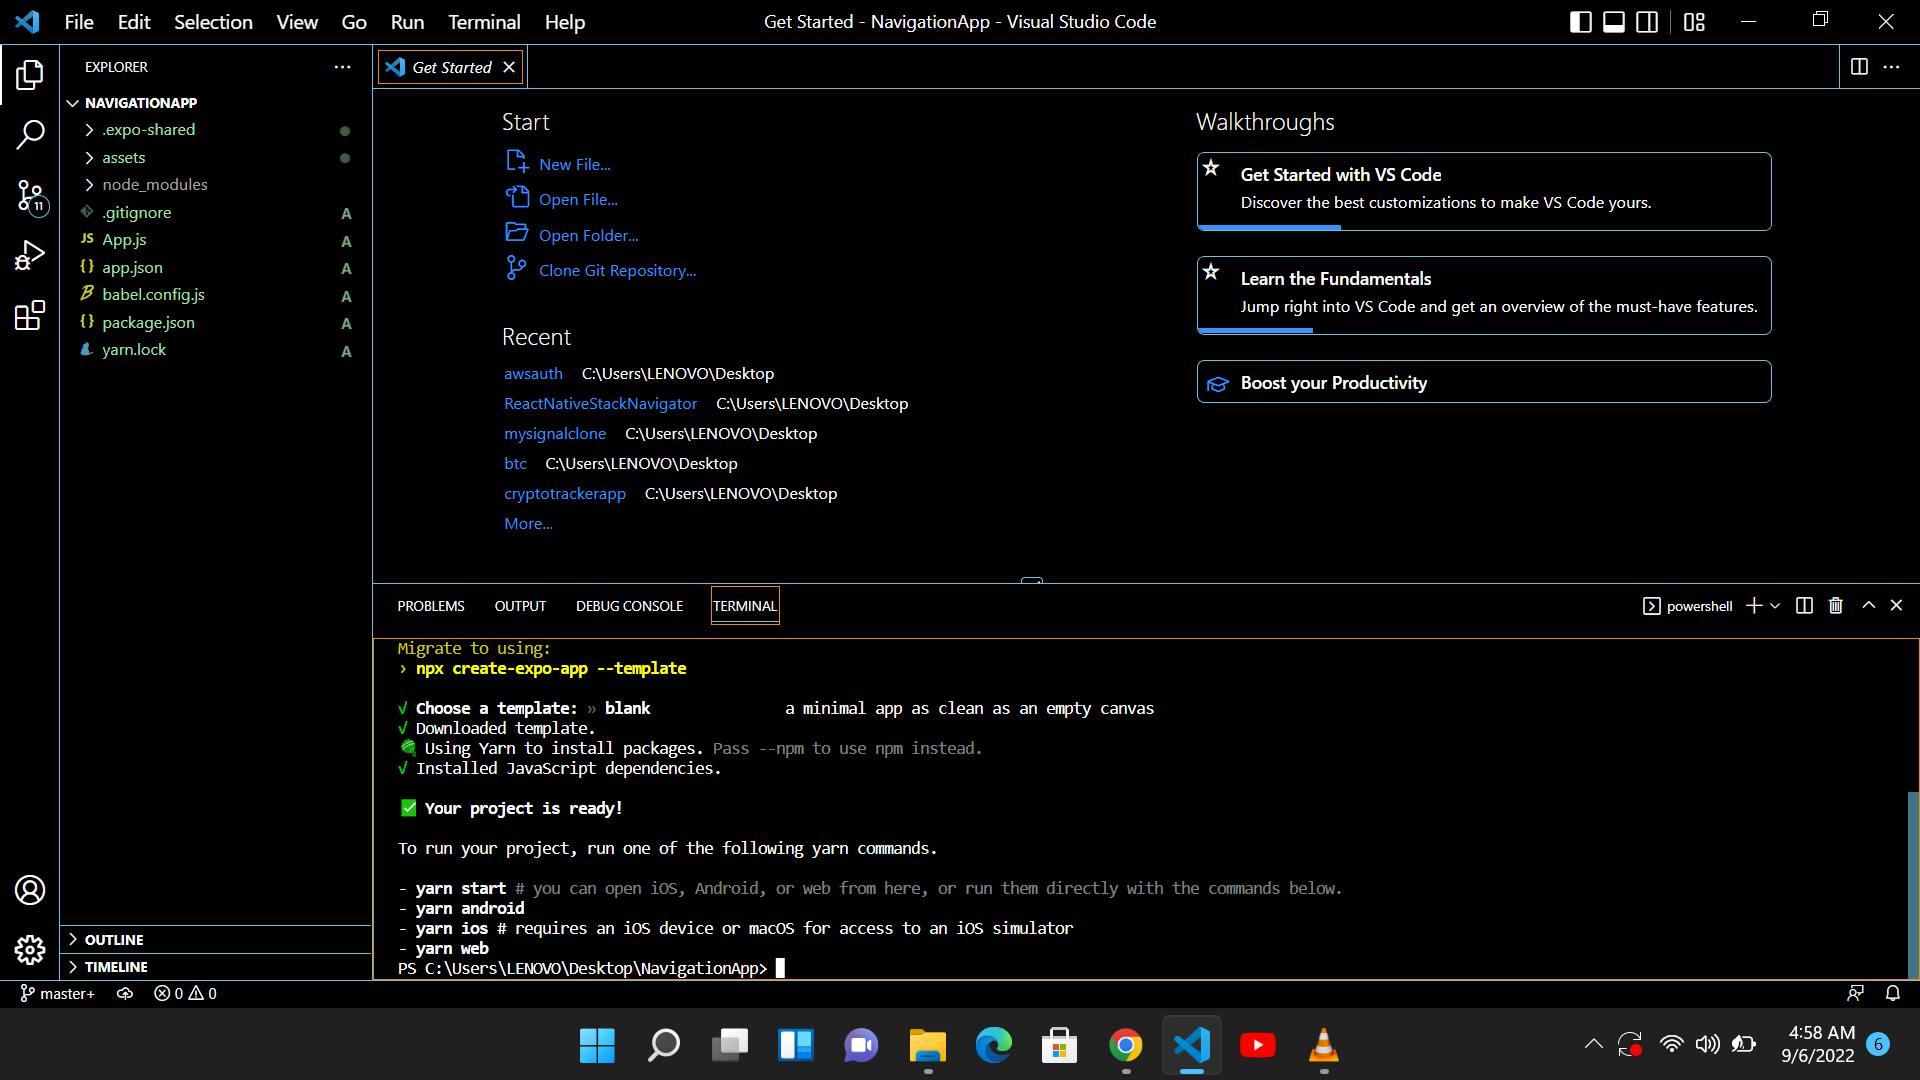
Once Expo is set up, our VS Code will now look like this.
By executing the following code in the terminal, we will install some third-party libraries as our next step.
yarn add @react-navigation/native
yarn add @react-navigation/stack
yarn add react-native-elements
npx expo install react-native-screens react-native-safe-area-context react-native-gesture-handler react-native-reanimated @react-native-community/masked-view
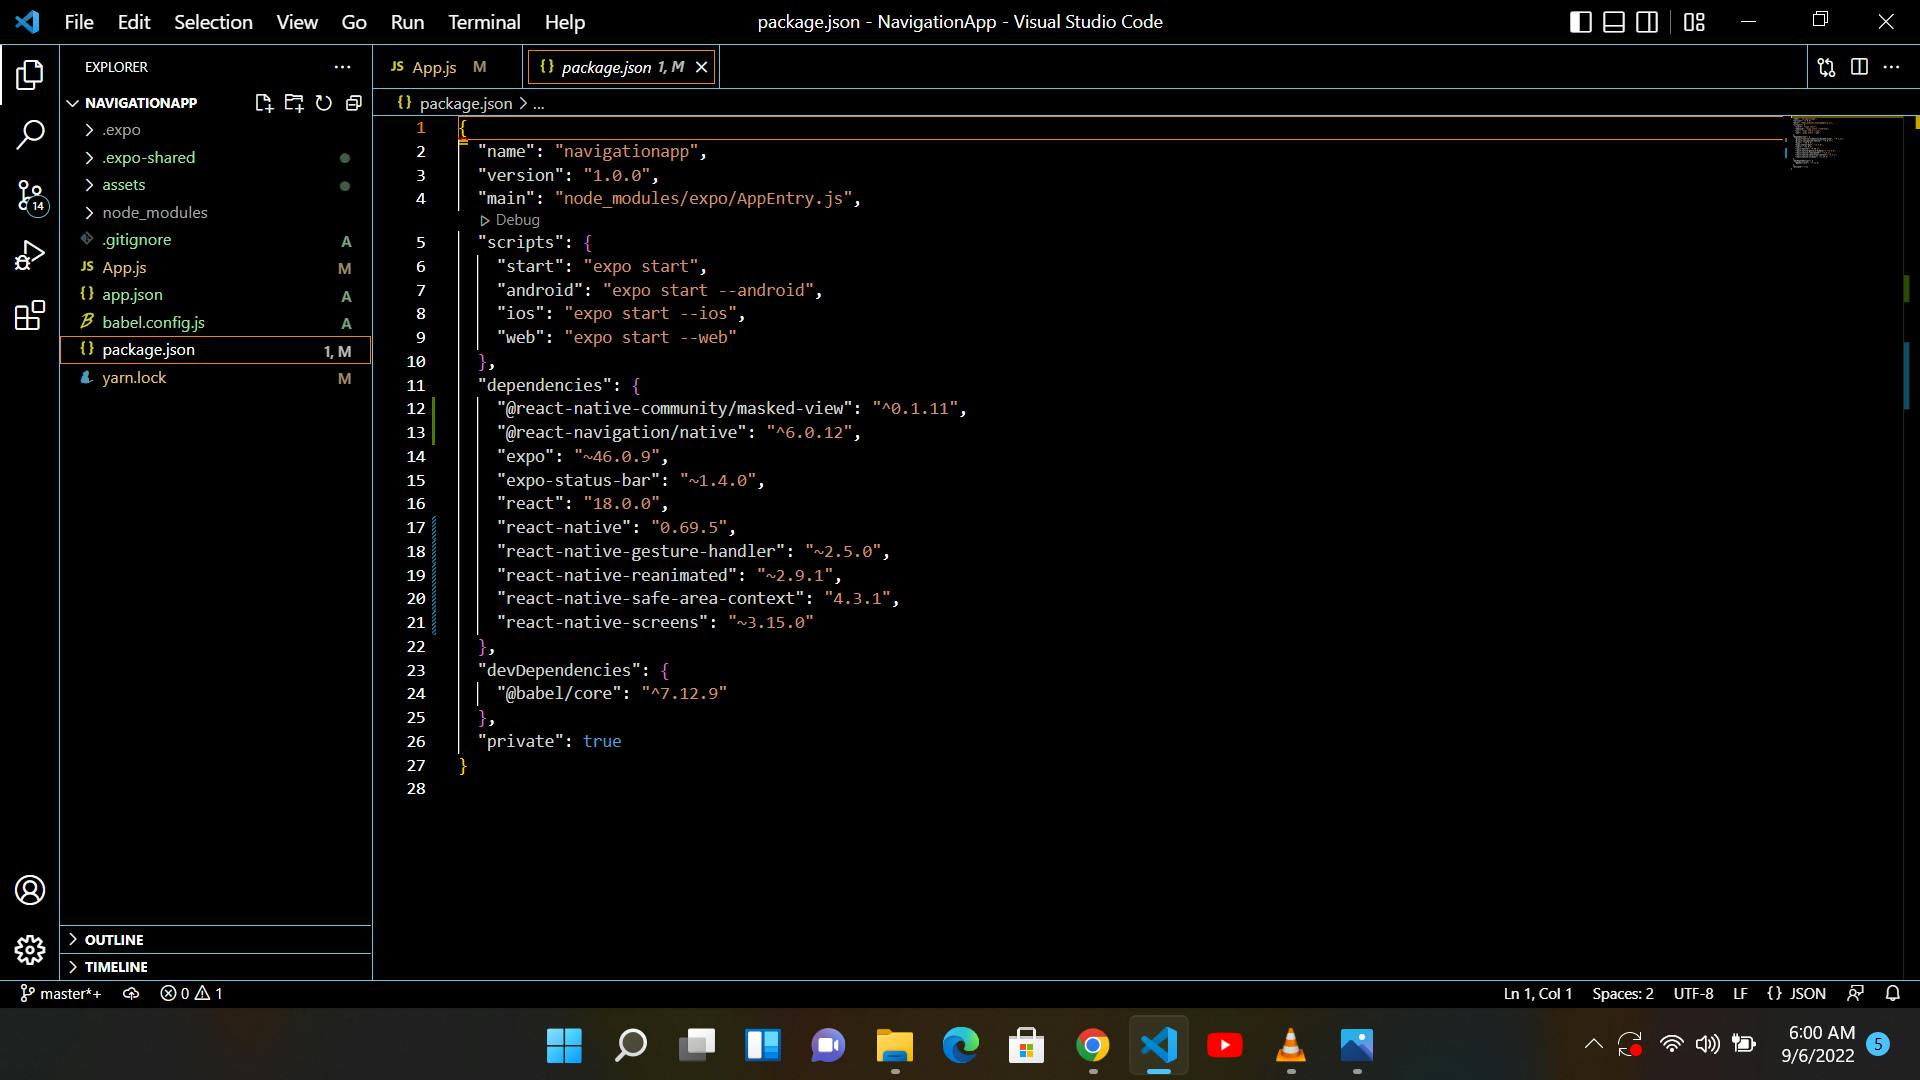
Our package.json file should now look like this. Here we can see that the libraries we installed are visible in the package.json file.
We will now add this code to our babel.config.js file.
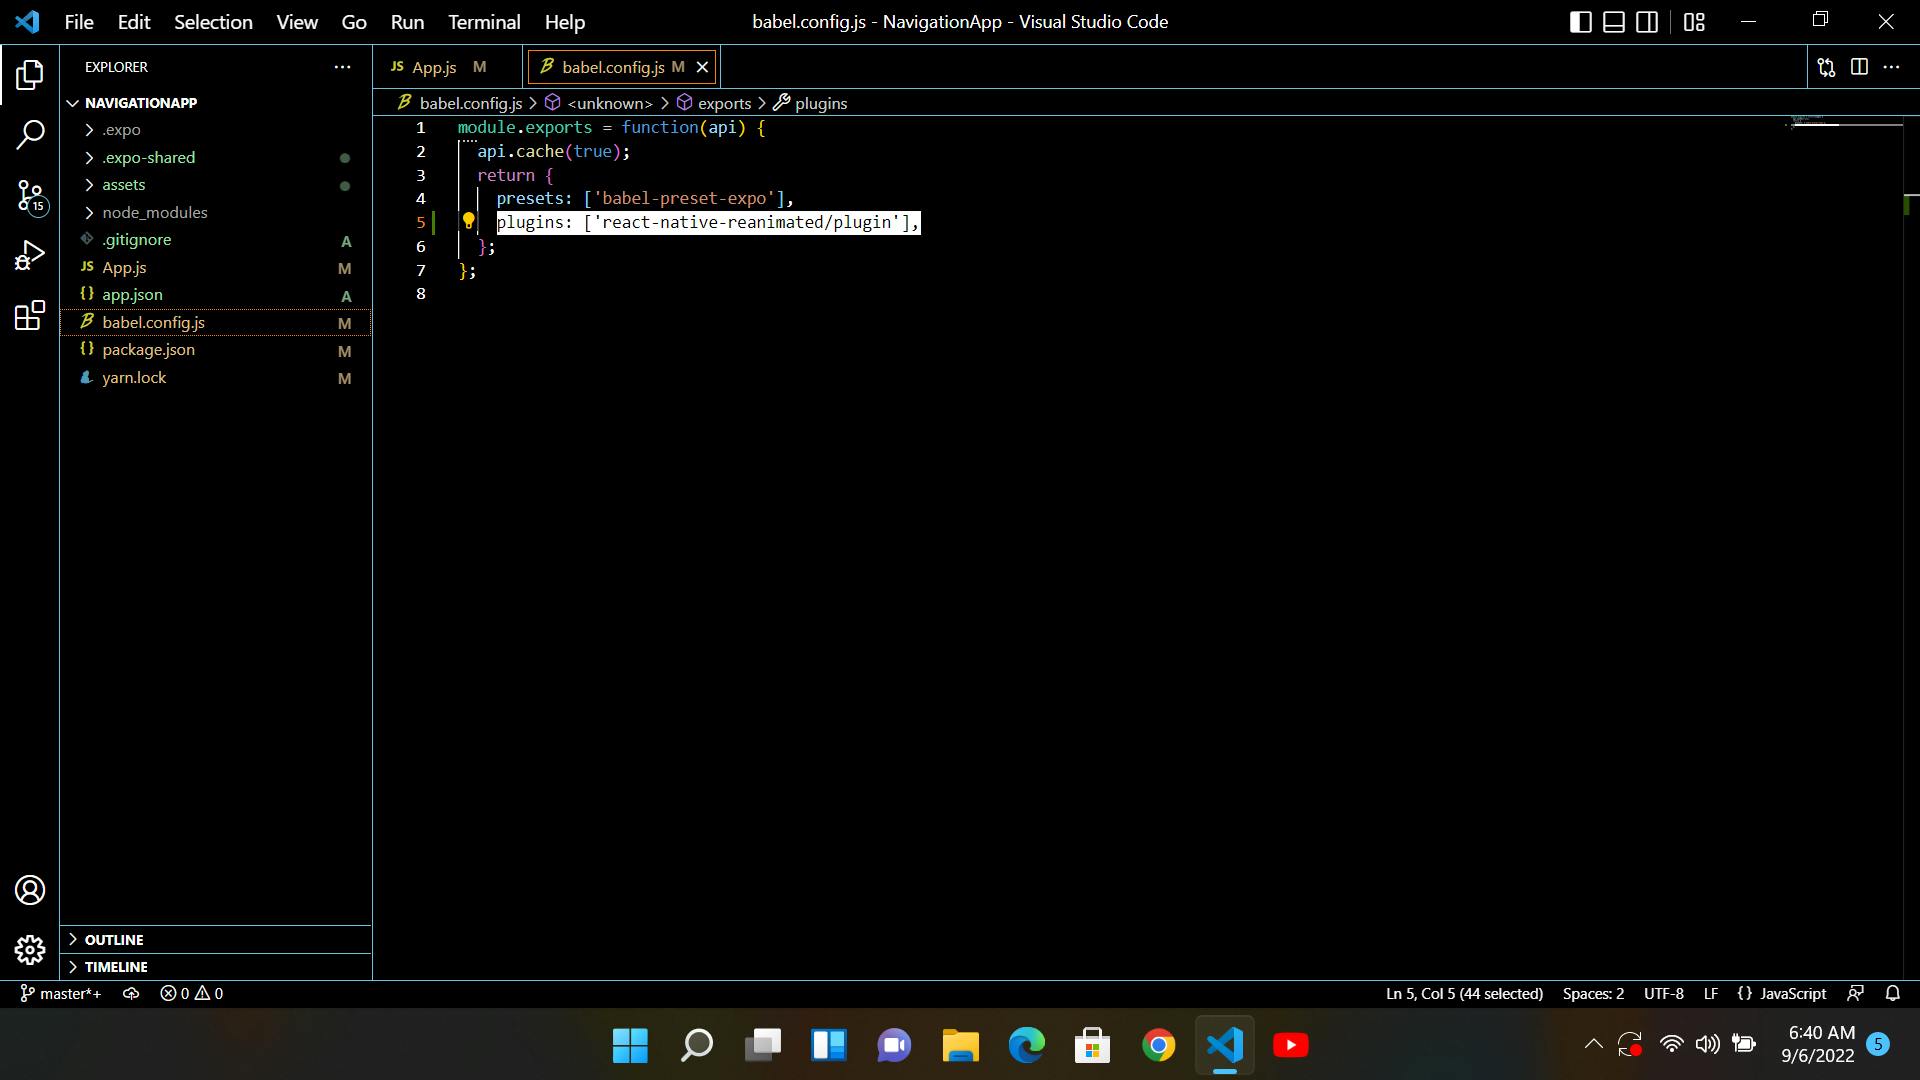
plugins: ['react-native-reanimated/plugin'],
Next we will run this code in our app to start up expo. Expo is a JavaScript and React framework that allows developers to create universal native apps for Android, iOS, and the web.
expo start
When we are developing with expo we are able to see our app live on our smartphone. We will now download the expo go app from our device App store(For iOS users) and Google Play Store( For Android users).
We will now scan the QR code in the terminal inside the expo go app. We should download the app from either the iOS app store or Android google play store The app should bundle up and load up the app right on our device in development mode. We get to see the app we are building right on our Smartphone. Isn't that cool?
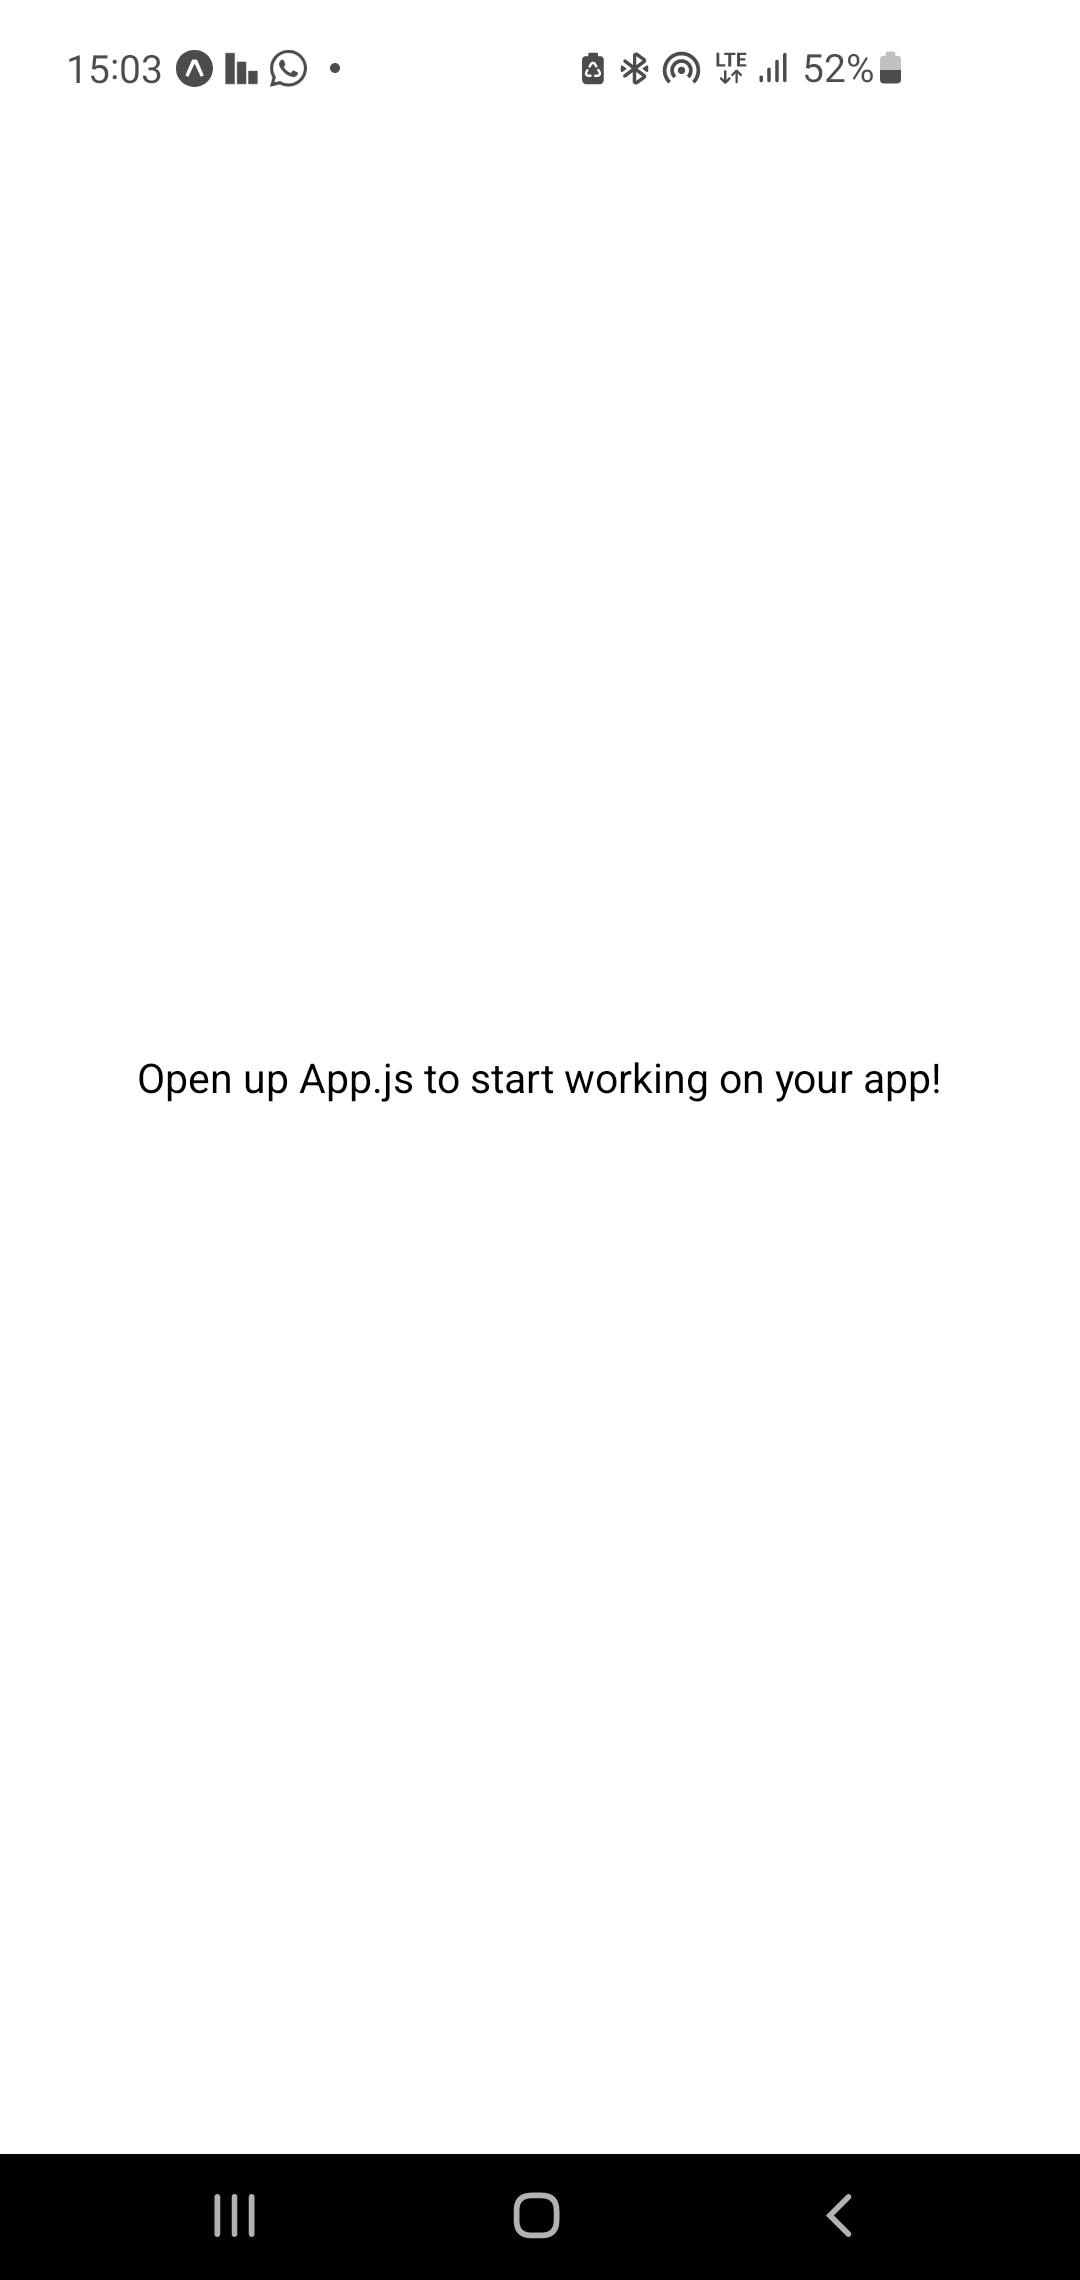
After bundling our cross platform app should look like this.
Now we will open the app.js file inside the root directory folder. We will import react-native-gesture-handler and then import the NavigationContainer from @react-navigation/native using this code and wrap our app inside a tag. Our app.js file should now look like this.
import 'react-native-gesture-handler';
import { StatusBar } from 'expo-status-bar';
import { StyleSheet, Text, View } from 'react-native';
import { NavigationContainer } from '@react-navigation/native';

export default function App() {
  return (
    <NavigationContainer>
      <View style={styles.container}>
      <Text>Open up App.js to start working on your app!</Text>
      <StatusBar style="auto" />
    </View>
    </NavigationContainer>

  );
}

const styles = StyleSheet.create({
  container: {
    flex: 1,
    backgroundColor: '#fff',
    alignItems: 'center',
    justifyContent: 'center',
  },
});
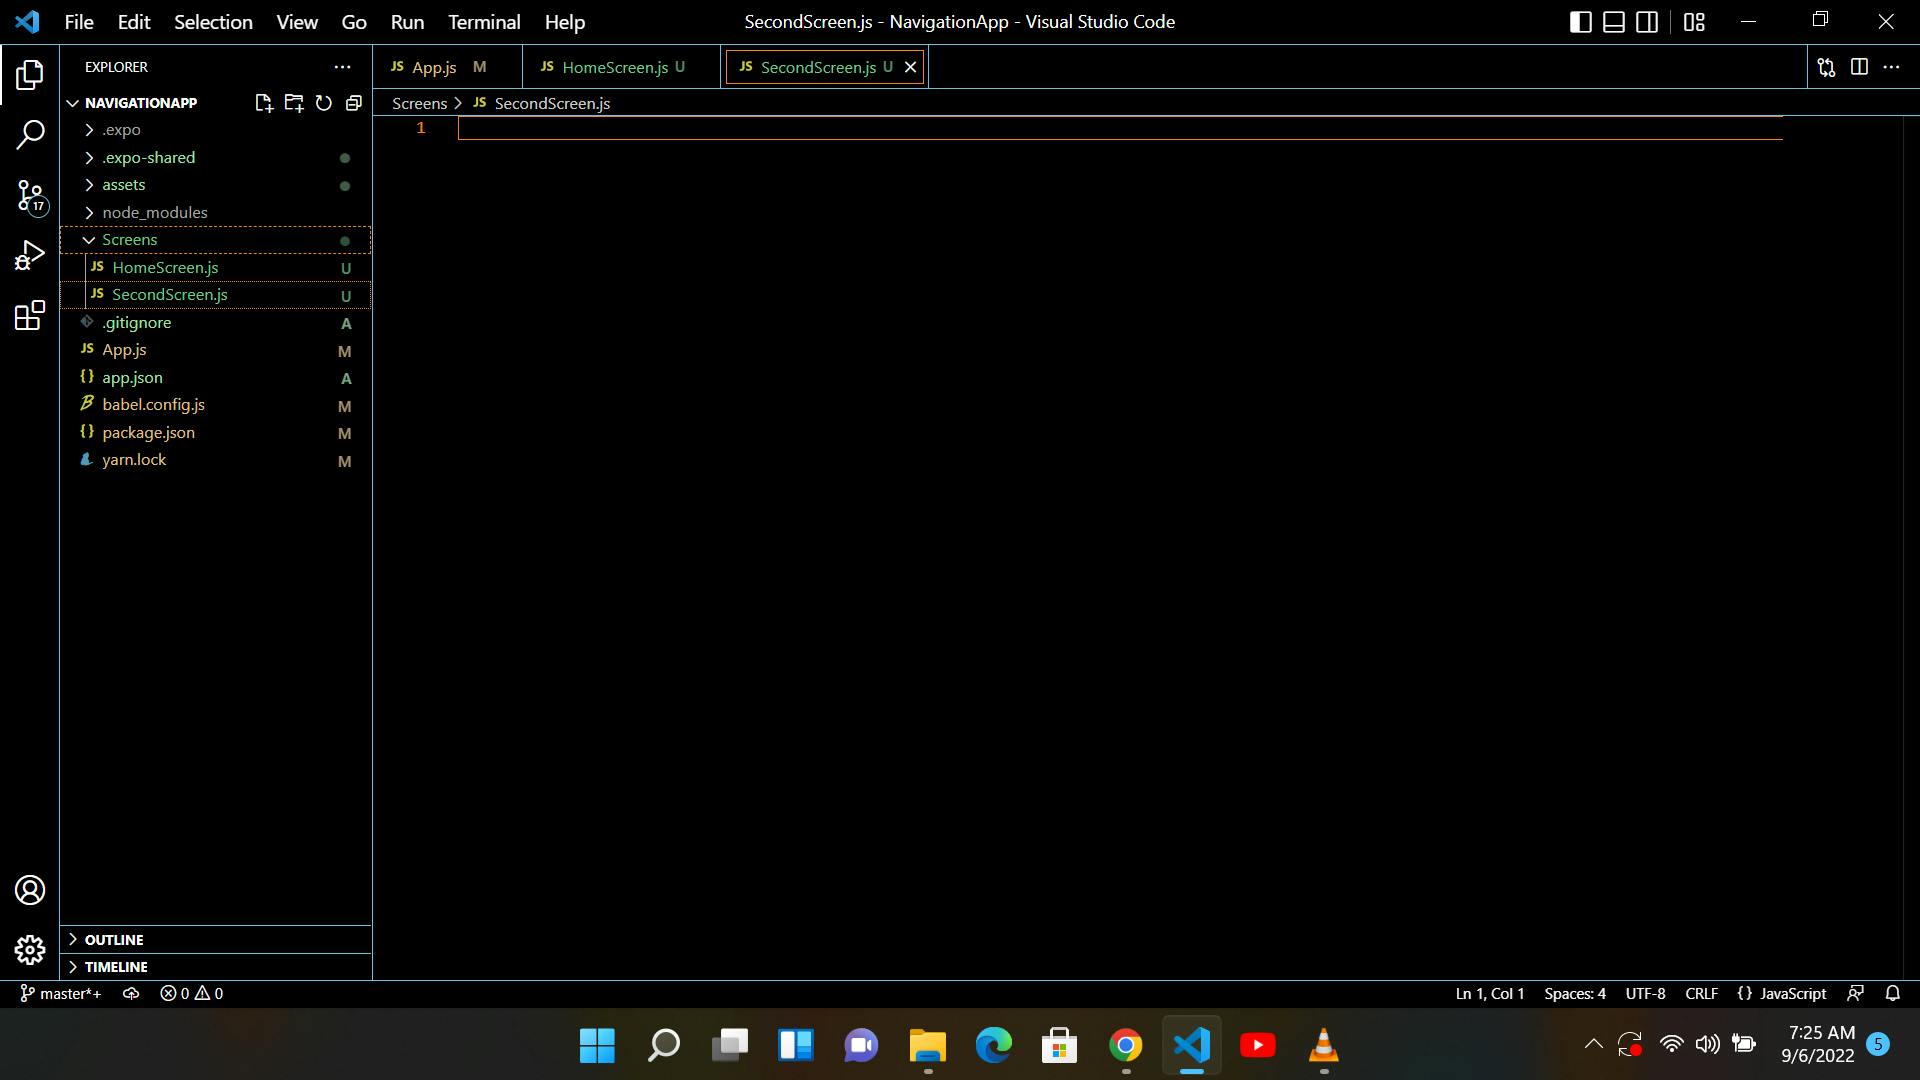
Next we would create a folder in our root folder which in this case is NavigationApp called screens. This folder will carry the JavaScript files of the screens that will be displayed in the app.
Inside the screens folder will create two new files HomeScreen.js and SecondScreen.js. All this is done inside our VS Code editor.
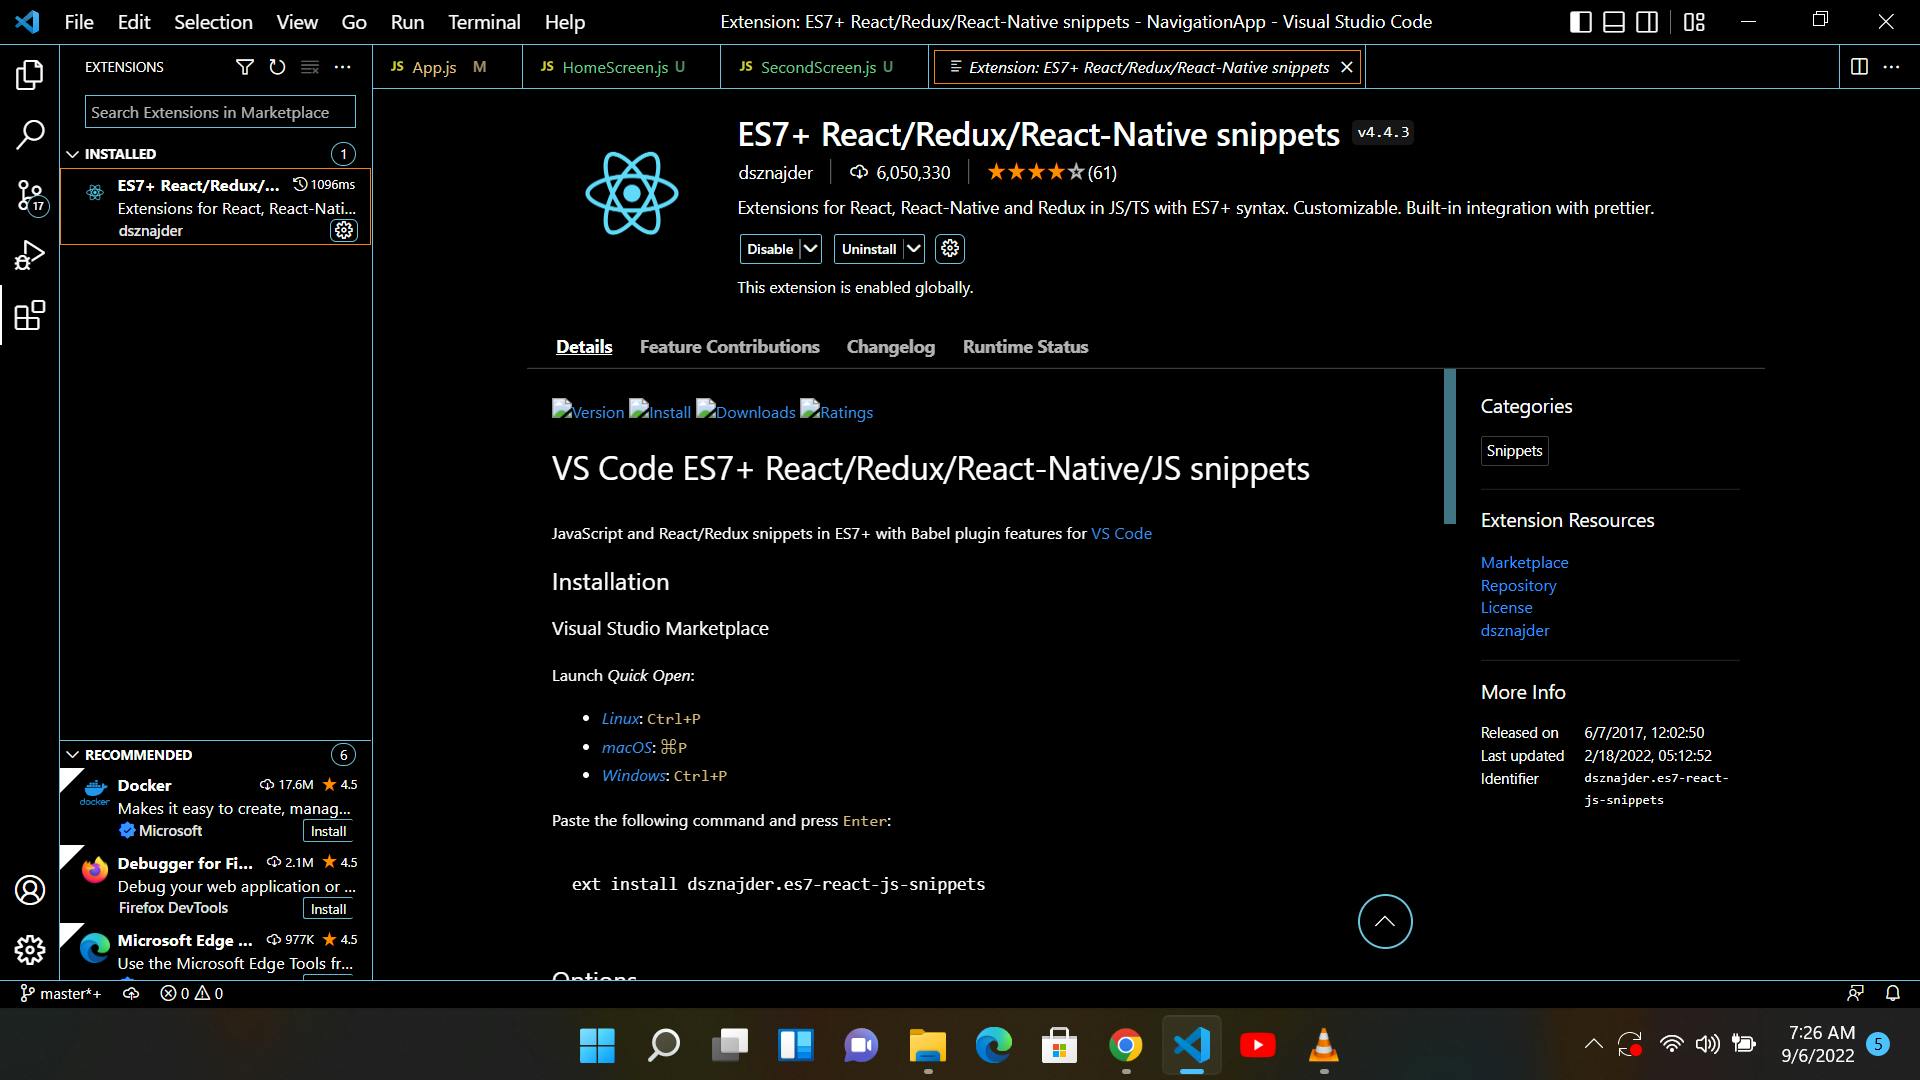
Next we will install the es7+ react/redux/react-native extension. It should look like this.
Inside our HomeScreen.js file we will type this shortcut code.
rnfes
And click enter. Our HomeScreen.js file should now look like this.
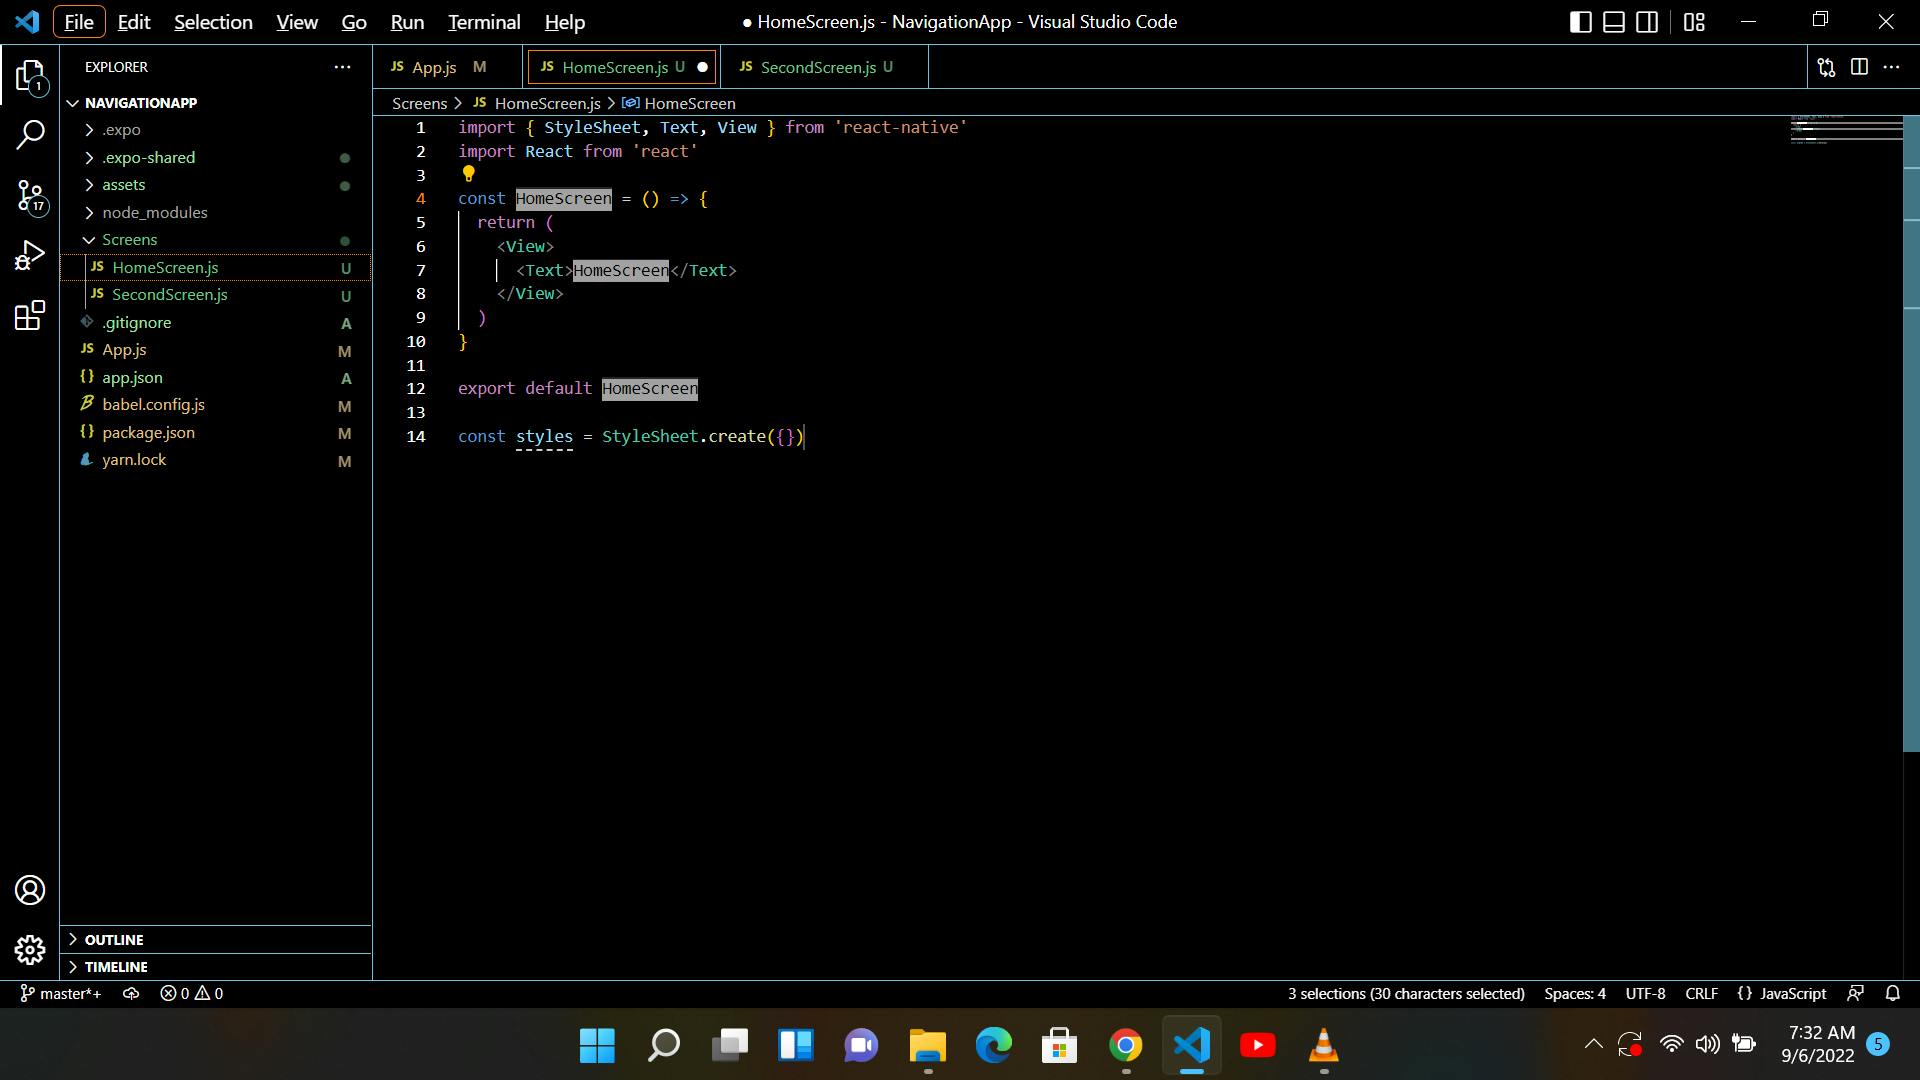
You can now edit the content of the tag to whatever you want.
We would now repeat the process for the SecondScreen.js and save.
To continue we will now use the HomeScreen.js inside our App.js file, we will also import creatStackNavigator from @react-navigation/stack.
We will now create a Constant function called Stack and inside our app function, we will add the tag and also the tag.
The tag is a self closing component that will carry the name and component of all the pages in our app, in this case the HomeScreen and SecondScreen. Now we can see our HomeScreen as the first page that our App shows.
Now we are going to create a button with the tag which will be imported from react-native-elements that will have an onPress function to stack the next screen over the current screen. We will also add the { navigation } property to both the HomeScreen.js and SecondScreen.js file.
Our App.js file should now look like this.
import 'react-native-gesture-handler';
import { StatusBar } from 'expo-status-bar';
import { StyleSheet, View } from 'react-native';
import { NavigationContainer } from '@react-navigation/native';
import HomeScreen from "./Screens/HomeScreen";
import { createStackNavigator } from "@react-navigation/stack";
import SecondScreen from "./Screens/SecondScreen";

const Stack = createStackNavigator();

export default function App() {
  return (
    <NavigationContainer>
      <Stack.Navigator>
      <Stack.Screen name ="Home" component = {HomeScreen} />
      <Stack.Screen name="SecondScreen" component = {SecondScreen}/>
      </Stack.Navigator>
    </NavigationContainer>

  );
}

const styles = StyleSheet.create({
  container: {
    flex: 1,
    backgroundColor: '#fff',
    alignItems: 'center',
    justifyContent: 'center',
  },
});
Our Homescreen code will look like this.
import { StyleSheet, Text, View } from 'react-native'
import React from 'react'
import { Button } from 'react-native-elements'

const HomeScreen = ({ navigation }) => {
  return (
    <View>
      <Text>This is the HomeScreen</Text>

      <Button onPress={() => navigation.navigate("SecondScreen")} title="Switch to the second screen" />

    </View>
  )
}

export default HomeScreen

const styles = StyleSheet.create({})
Our SecondScreen code will look like this.
import { StyleSheet, Text, View } from 'react-native'
import React from 'react'

const SecondScreen = ({ navigation }) => {
  return (
    <View>
      <Text>SecondScreen</Text>
    </View>
  )
}

export default SecondScreen

const styles = StyleSheet.create({})
Now our HomeScreen should look like this when we bundle our app.

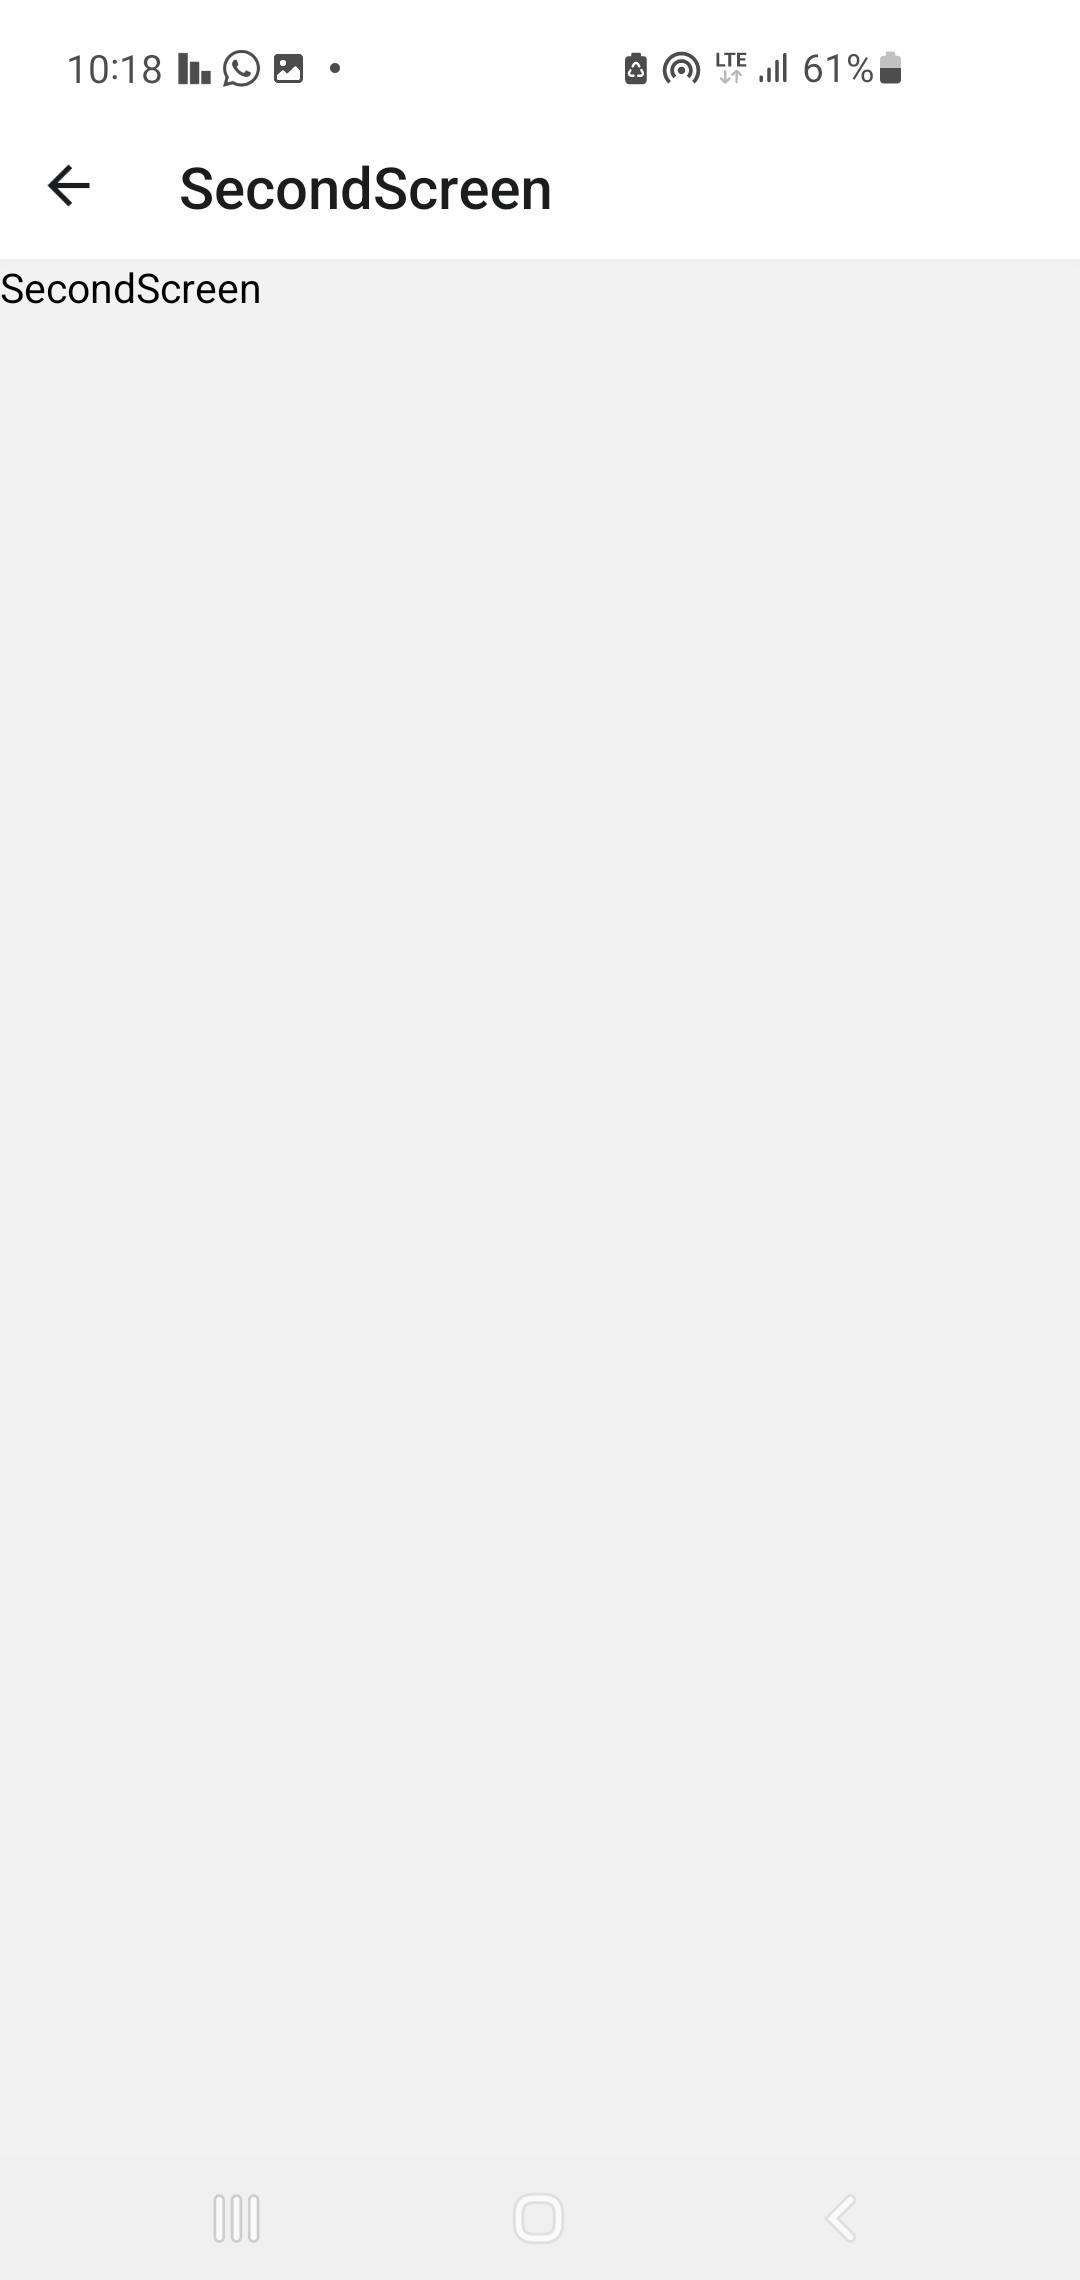
When we press the button the SecondScreen page would be stacked on top of the current screen and it would look like this.
Conclusion
In this article we have learnt how to set up a basic react-native cross-platform app that works on both Android and iOS platform using one codebase. We have also learnt how to install and use react–native libraries in our app, And how to create Text, button, and how to navigate between pages using react-native navigation.